Hi Everyone
Just popping in to let you know I am featuring as a Guest Designer on the Faber-Castell Design Memory Craft® blog today with a brand new tutorial! Here is the sneak peek!
For the full view and the tutorial that will show you how to mix and match your Faber-Castell Design Memory Craft ® products to create lovely Chalkboard effects please click on this link.
Before you go I would like to take this time to thank you for your support and kind comments throughout 2015 and wish you all a Healthy and Happy New Year with lots of time to Craft in 2016!
Thank you for popping by X
This blog is a record of my creative journey. I love to share my passion for paper crafting so I design projects and then create tutorials and workshops to show you how to make them. Please feel free to wander around to check out all the things I share both here, in my ETSY shop and over on my You Tube channel. Thank you for popping by!
Thursday, 31 December 2015
Monday, 14 December 2015
New Class Dates for 2016
Hi everyone
Just popping in to say hello and to post the new dates for my card classes for 2016. If you are in the area and want to come along just email me (address on my right hand side bar) and I will book you a seat. We always have lots of fun exploring lots of different techniques and card styles.
If you like me are still making Christmas Cards and looking for ideas then here are some Christmas Card tutorial that might help! First up a lovely shaker card full of snow!
This one is easy peasy and looks so elegant…..
I loved this snowy scene created with my Rubber Dance Stamps.
This is so luxurious with gold foiling or embossing and then lots of layers.
Or you could follow this link to all my Christmas Card tutorials to see if there is anything that takes you fancy as you make this final cards for your friends and family.
Happy Christmas preparations and thank you for popping by X
Just popping in to say hello and to post the new dates for my card classes for 2016. If you are in the area and want to come along just email me (address on my right hand side bar) and I will book you a seat. We always have lots of fun exploring lots of different techniques and card styles.
If you like me are still making Christmas Cards and looking for ideas then here are some Christmas Card tutorial that might help! First up a lovely shaker card full of snow!
This one is easy peasy and looks so elegant…..
I loved this snowy scene created with my Rubber Dance Stamps.
This is so luxurious with gold foiling or embossing and then lots of layers.
Or you could follow this link to all my Christmas Card tutorials to see if there is anything that takes you fancy as you make this final cards for your friends and family.
Happy Christmas preparations and thank you for popping by X
Saturday, 12 December 2015
Second Holiday Project on the Faber-Castell Design Memory Craft® Blog Today!
Hi everyone
Just a little sneak peek of what I am sharing on the Faber-Castell Design Memory Craft Blog today! Pop back tomorrow if you want to see the Flood the Streets with Art Post that is related to the creation of this project.
I had a ton of fun mixing and matching my products to achieve this Chrismassy home decor piece that I know I am going to love hanging at this time of year! Now where can I hang it to be sure of maximum Kisses? ;-)
Follow this link to see the whole project and exactly what I did to achieve this look.
I hope your Christmas preparations are going to plan…..I love this time of year!! Thank you for popping by X
Just a little sneak peek of what I am sharing on the Faber-Castell Design Memory Craft Blog today! Pop back tomorrow if you want to see the Flood the Streets with Art Post that is related to the creation of this project.
I had a ton of fun mixing and matching my products to achieve this Chrismassy home decor piece that I know I am going to love hanging at this time of year! Now where can I hang it to be sure of maximum Kisses? ;-)
Follow this link to see the whole project and exactly what I did to achieve this look.
I hope your Christmas preparations are going to plan…..I love this time of year!! Thank you for popping by X
Tuesday, 1 December 2015
Quick but Lovely Christmas Card!
Hi Everyone
It is that time of year when we all want fabulous handmade Christmas Cards that you can make in minutes! I hope you enjoy this tutorial which features a lovely SnowGlobe stamp from IndigoBlu. This beautiful stamp needed little adornment which makes it perfect for cards in a hurry.
I think you will agree all that the gold embossing gives a simple card a luxurious feel. I made the inside match the outside with the addition of a Circle Merry Christmas stamp….
I hope you enjoy the tutorial and as you can see from this photo this card is nice and flat so perfect for keeping the costs of posting down too. I think I am going to make these in different colour ways…..Pink, cream and gold could be nice….what do you think?…..
I am featuring on the Faber-Castell Design Memory Craft Blog twice this month so watch this space for more Christmassy makes! I love this time of year….Ho, Ho, Ho!
Cutting Guide:
Green Card Base 5 5/8" square
Cut 2 White Squares 5 3/8" square
Green Square 3 3/4"
Thank you for popping by X
It is that time of year when we all want fabulous handmade Christmas Cards that you can make in minutes! I hope you enjoy this tutorial which features a lovely SnowGlobe stamp from IndigoBlu. This beautiful stamp needed little adornment which makes it perfect for cards in a hurry.
I think you will agree all that the gold embossing gives a simple card a luxurious feel. I made the inside match the outside with the addition of a Circle Merry Christmas stamp….
I hope you enjoy the tutorial and as you can see from this photo this card is nice and flat so perfect for keeping the costs of posting down too. I think I am going to make these in different colour ways…..Pink, cream and gold could be nice….what do you think?…..
I am featuring on the Faber-Castell Design Memory Craft Blog twice this month so watch this space for more Christmassy makes! I love this time of year….Ho, Ho, Ho!
Cutting Guide:
Green Card Base 5 5/8" square
Cut 2 White Squares 5 3/8" square
Green Square 3 3/4"
Thank you for popping by X
Tuesday, 24 November 2015
Guest Design Team Member - First Post
Hi everyone
Just popping in to give you a sneak peek of my first post as a Faber-Castell Design Memory Craft® Guest Design Team Member. I had such fun with this one and there are two videos included!
As you know I am already a lover of my PITT® Big Brush Artist Pens so it was lovely to mix and match them with even more lovely Faber-Castell Design Memory Craft ® products that were new to me. In the first video you can see how you can work with them on a fabric panel and then on the second how to turn that into a gorgeous project for the holiday season.
Follow this link over to the Faber-Castell Design Memory Craft ® Blog and don't forget to say hi and let me know what you think of my first share and of course please explore all the wonderful mixed media creativity going on over there too.
I am already working on my next project in between looking after Callum who has had his knee operation and is in a full leg splint. My fitness levels are improving as I 'frequently' travel up and down stairs to help him! He is recovering well and is looking forward to getting on with the physio so he can get more mobile.
Thank you for popping by and hope to see you over at my Guest Design Team Post! x
Just popping in to give you a sneak peek of my first post as a Faber-Castell Design Memory Craft® Guest Design Team Member. I had such fun with this one and there are two videos included!
As you know I am already a lover of my PITT® Big Brush Artist Pens so it was lovely to mix and match them with even more lovely Faber-Castell Design Memory Craft ® products that were new to me. In the first video you can see how you can work with them on a fabric panel and then on the second how to turn that into a gorgeous project for the holiday season.
Follow this link over to the Faber-Castell Design Memory Craft ® Blog and don't forget to say hi and let me know what you think of my first share and of course please explore all the wonderful mixed media creativity going on over there too.
I am already working on my next project in between looking after Callum who has had his knee operation and is in a full leg splint. My fitness levels are improving as I 'frequently' travel up and down stairs to help him! He is recovering well and is looking forward to getting on with the physio so he can get more mobile.
Thank you for popping by and hope to see you over at my Guest Design Team Post! x
Thursday, 5 November 2015
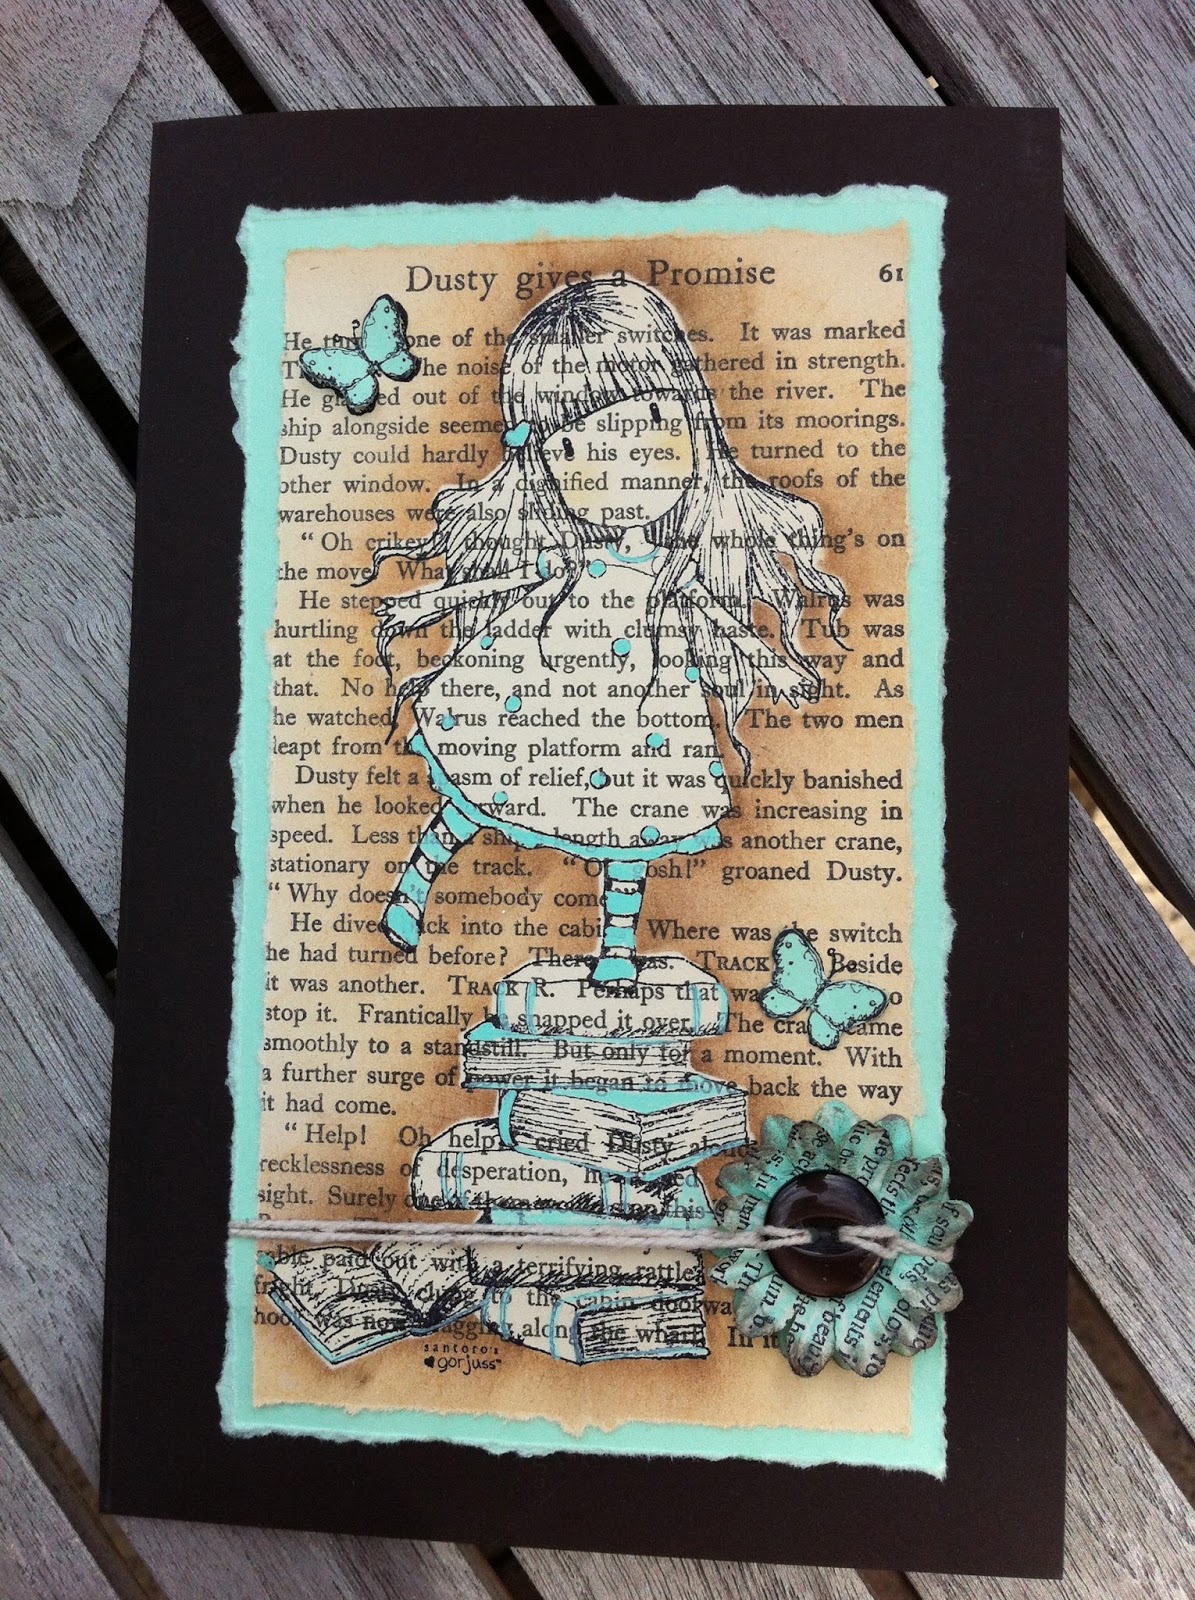
A Gorjuss Card!
Hi Everyone
As well as lots of UFOs on my desk (UnFinished Objects) I also have amassed some on my computer. Videos I have filmed but have yet to edit. It seems about time I set to and got some of them posted.
Here is the first one! I loved this technique and I know that it has a lot more ways in which I could used it but for now I wanted to share this tutorial for a lovely way to highlight your stamped images when you print them on to book pages.
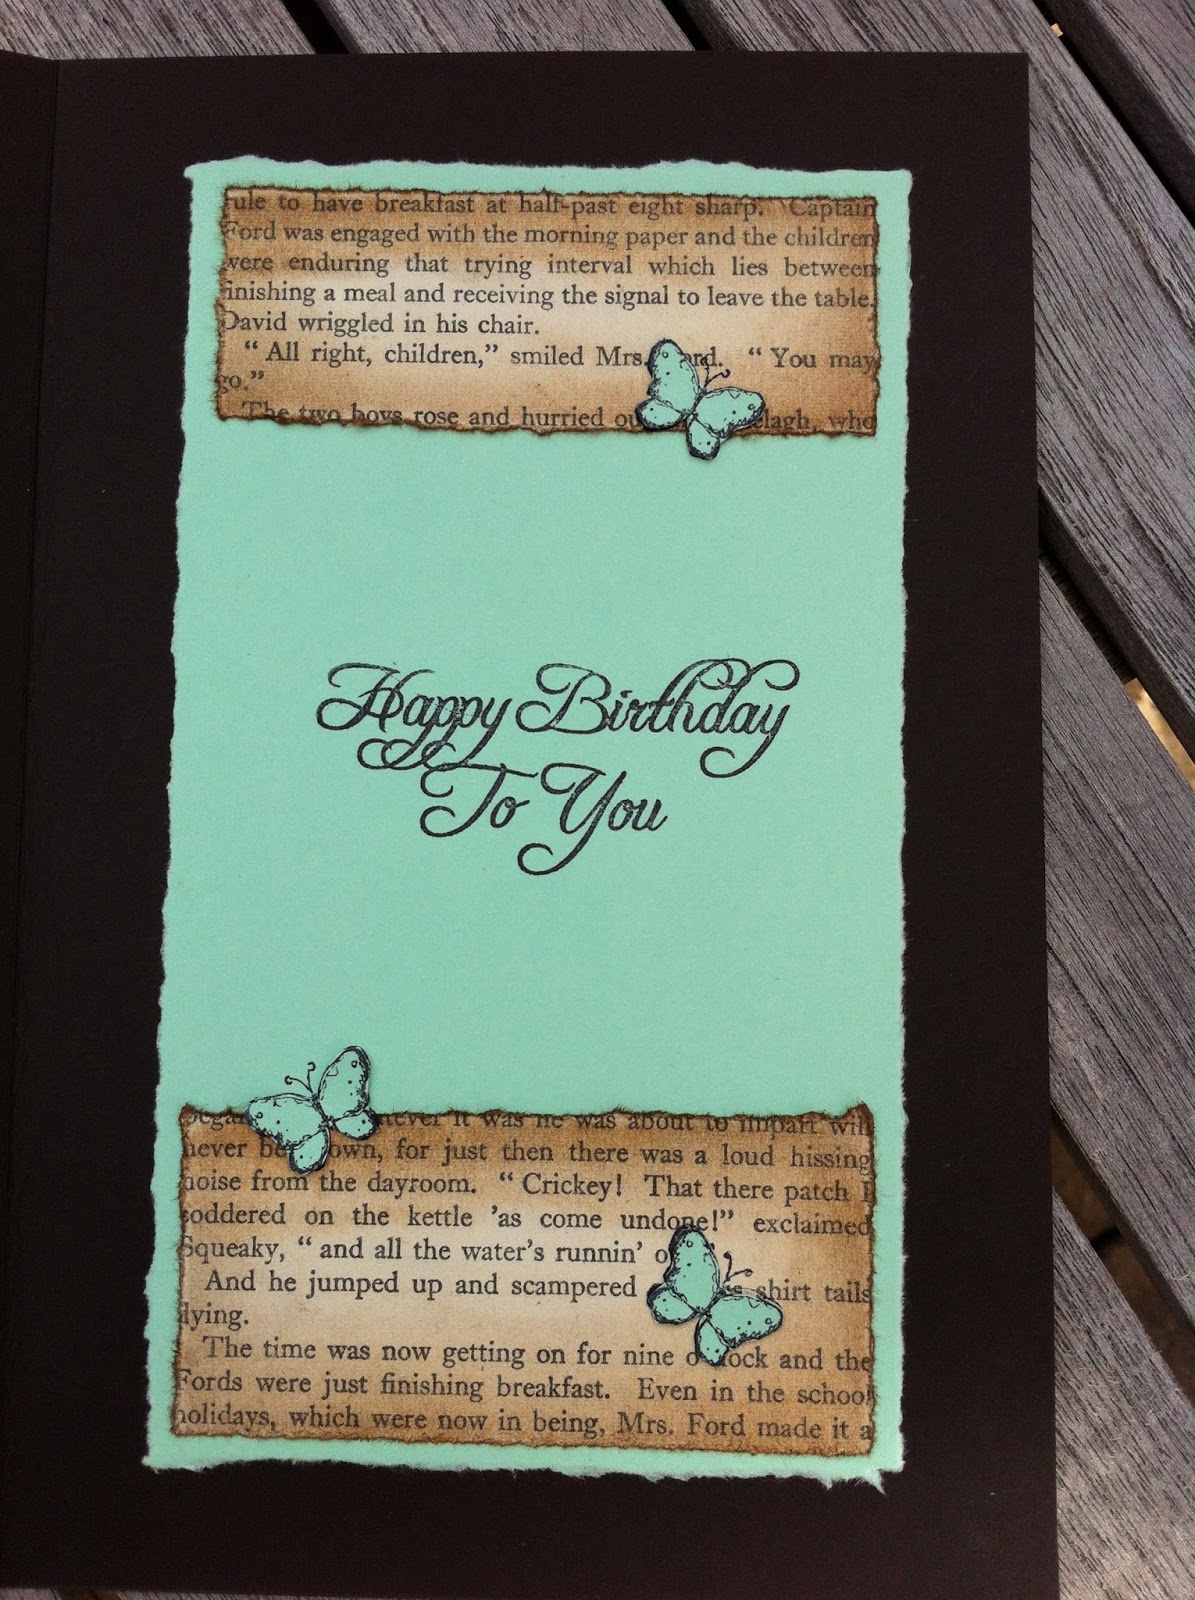
In the tutorial I show you exactly how it is done and you can use this technique with any of the stamps you have in your collection. Don't forget to make the inside of the card look as fabulous as the front!
Cutting Guide:
Brown Card Base - 8" x 10 1/2" scored at 5 1/4"
Book Page Front - 3 1/2" x 6 1/4"
2 x Green Cards - 4" x 6 3/4"
Book Page Strip Top - 3 1/2" x 1 1/4"
Book Page Strip Bottom - 3 1/2" x 1 1/2"
I just realised I forgot to let you know that I had some very good news recently! Sometimes my social media outlets get the better of me LOL! I have been selected to be part of the Guest Design Team for the Fall/Winter season for Faber-Castell Design Memory Craft ®. I am super excited and can't wait to share my first project with you over on their blog on the 24th November. I will give you a sneak peek here to remind you to pop over on the day! Thank you to everyone for their kind comments over on my Facebook page. It is so lovely to have your support and I really do appreciate it.
Here is the tutorial I promised to deliver!!! Hope you like it.
See you again soon - off to find another UFO!!! Thank you for popping by X
As well as lots of UFOs on my desk (UnFinished Objects) I also have amassed some on my computer. Videos I have filmed but have yet to edit. It seems about time I set to and got some of them posted.
Here is the first one! I loved this technique and I know that it has a lot more ways in which I could used it but for now I wanted to share this tutorial for a lovely way to highlight your stamped images when you print them on to book pages.
In the tutorial I show you exactly how it is done and you can use this technique with any of the stamps you have in your collection. Don't forget to make the inside of the card look as fabulous as the front!
Cutting Guide:
Brown Card Base - 8" x 10 1/2" scored at 5 1/4"
Book Page Front - 3 1/2" x 6 1/4"
2 x Green Cards - 4" x 6 3/4"
Book Page Strip Top - 3 1/2" x 1 1/4"
Book Page Strip Bottom - 3 1/2" x 1 1/2"
I just realised I forgot to let you know that I had some very good news recently! Sometimes my social media outlets get the better of me LOL! I have been selected to be part of the Guest Design Team for the Fall/Winter season for Faber-Castell Design Memory Craft ®. I am super excited and can't wait to share my first project with you over on their blog on the 24th November. I will give you a sneak peek here to remind you to pop over on the day! Thank you to everyone for their kind comments over on my Facebook page. It is so lovely to have your support and I really do appreciate it.
Here is the tutorial I promised to deliver!!! Hope you like it.
See you again soon - off to find another UFO!!! Thank you for popping by X
Thursday, 22 October 2015
More Spookiness…..
Hi Everyone
Is more spookiness a word? I have another video tutorial for you today and this time I show you how to create a ghoulish scene inside a Tim Holtz Assemblage Clock!
I do love these clocks and I have been meaning to do this one for some time. I managed to break the glass of the first clock I bought when I was making the Christmas Clock (see below) I made a couple of years ago. I kept it as I knew I could still use it but I had to use a new one for the Christmas version. Today, as you can see, I have finally used it!!!
So if you want to turn a clock to stone - make mini grave stones, make glittery blood trails or glue cobwebs then this is the tutorial for you!
I hope to get at least one more halloween project up before the witching hour is upon us but we will see….I seem to need all my time management skills lately :-)
Here is the link to the Christmas Clock if you like creating worlds in miniature then these clocks are the perfect frame for them. Just let your imagination take over and make it small!
Have fun creating in miniature. Thank you for popping by x
Is more spookiness a word? I have another video tutorial for you today and this time I show you how to create a ghoulish scene inside a Tim Holtz Assemblage Clock!
I do love these clocks and I have been meaning to do this one for some time. I managed to break the glass of the first clock I bought when I was making the Christmas Clock (see below) I made a couple of years ago. I kept it as I knew I could still use it but I had to use a new one for the Christmas version. Today, as you can see, I have finally used it!!!
So if you want to turn a clock to stone - make mini grave stones, make glittery blood trails or glue cobwebs then this is the tutorial for you!
I hope to get at least one more halloween project up before the witching hour is upon us but we will see….I seem to need all my time management skills lately :-)
Here is the link to the Christmas Clock if you like creating worlds in miniature then these clocks are the perfect frame for them. Just let your imagination take over and make it small!
Have fun creating in miniature. Thank you for popping by x
Subscribe to:
Posts (Atom)