Showing posts with label Gorjuss. Show all posts

Thursday, 5 November 2015

A Gorjuss Card!

Hi Everyone

As well as lots of UFOs on my desk (UnFinished Objects) I also have amassed some on my computer. Videos I have filmed but have yet to edit.  It seems about time I set to and got some of them posted.

Here is the first one!  I loved this technique and I know that it has a lot more ways in which I could used it but for now I wanted to share this tutorial for a lovely way to highlight your stamped images when you print them on to book pages.
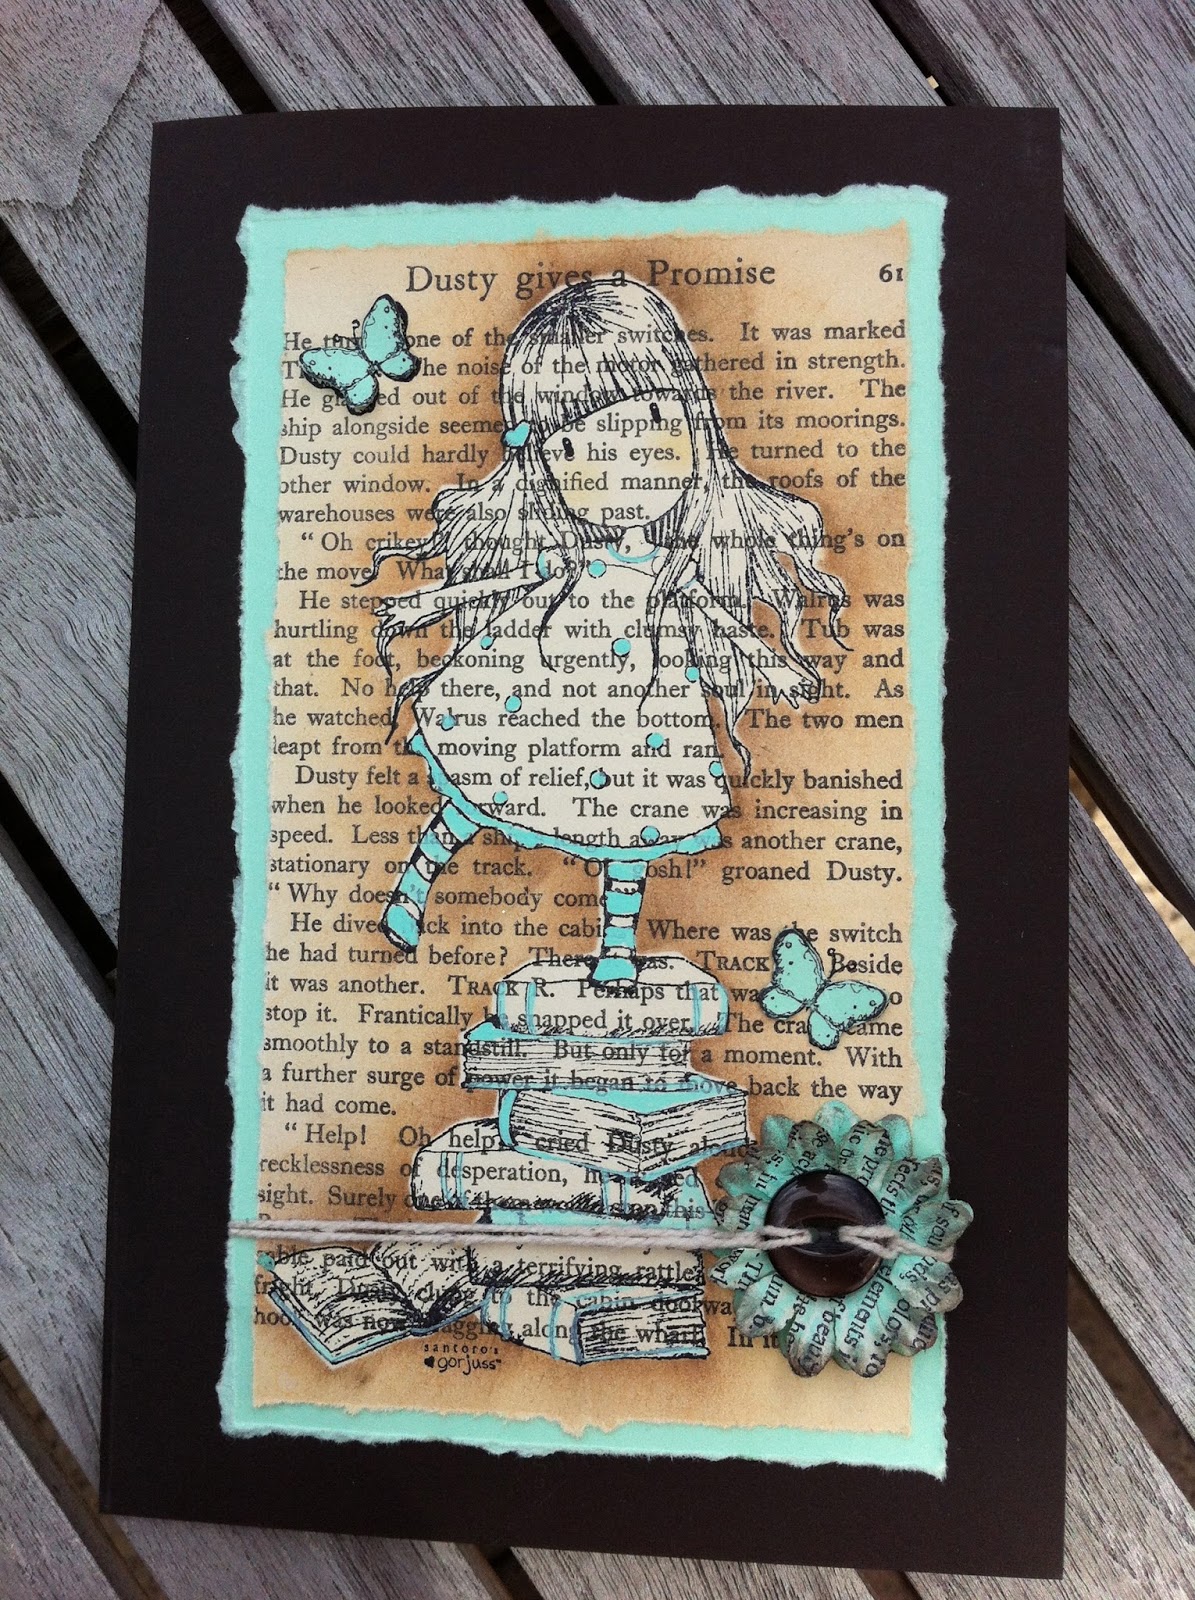

In the tutorial I show you exactly how it is done and you can use this technique with any of the stamps you have in your collection.  Don't forget to make the inside of the card look as fabulous as the front!
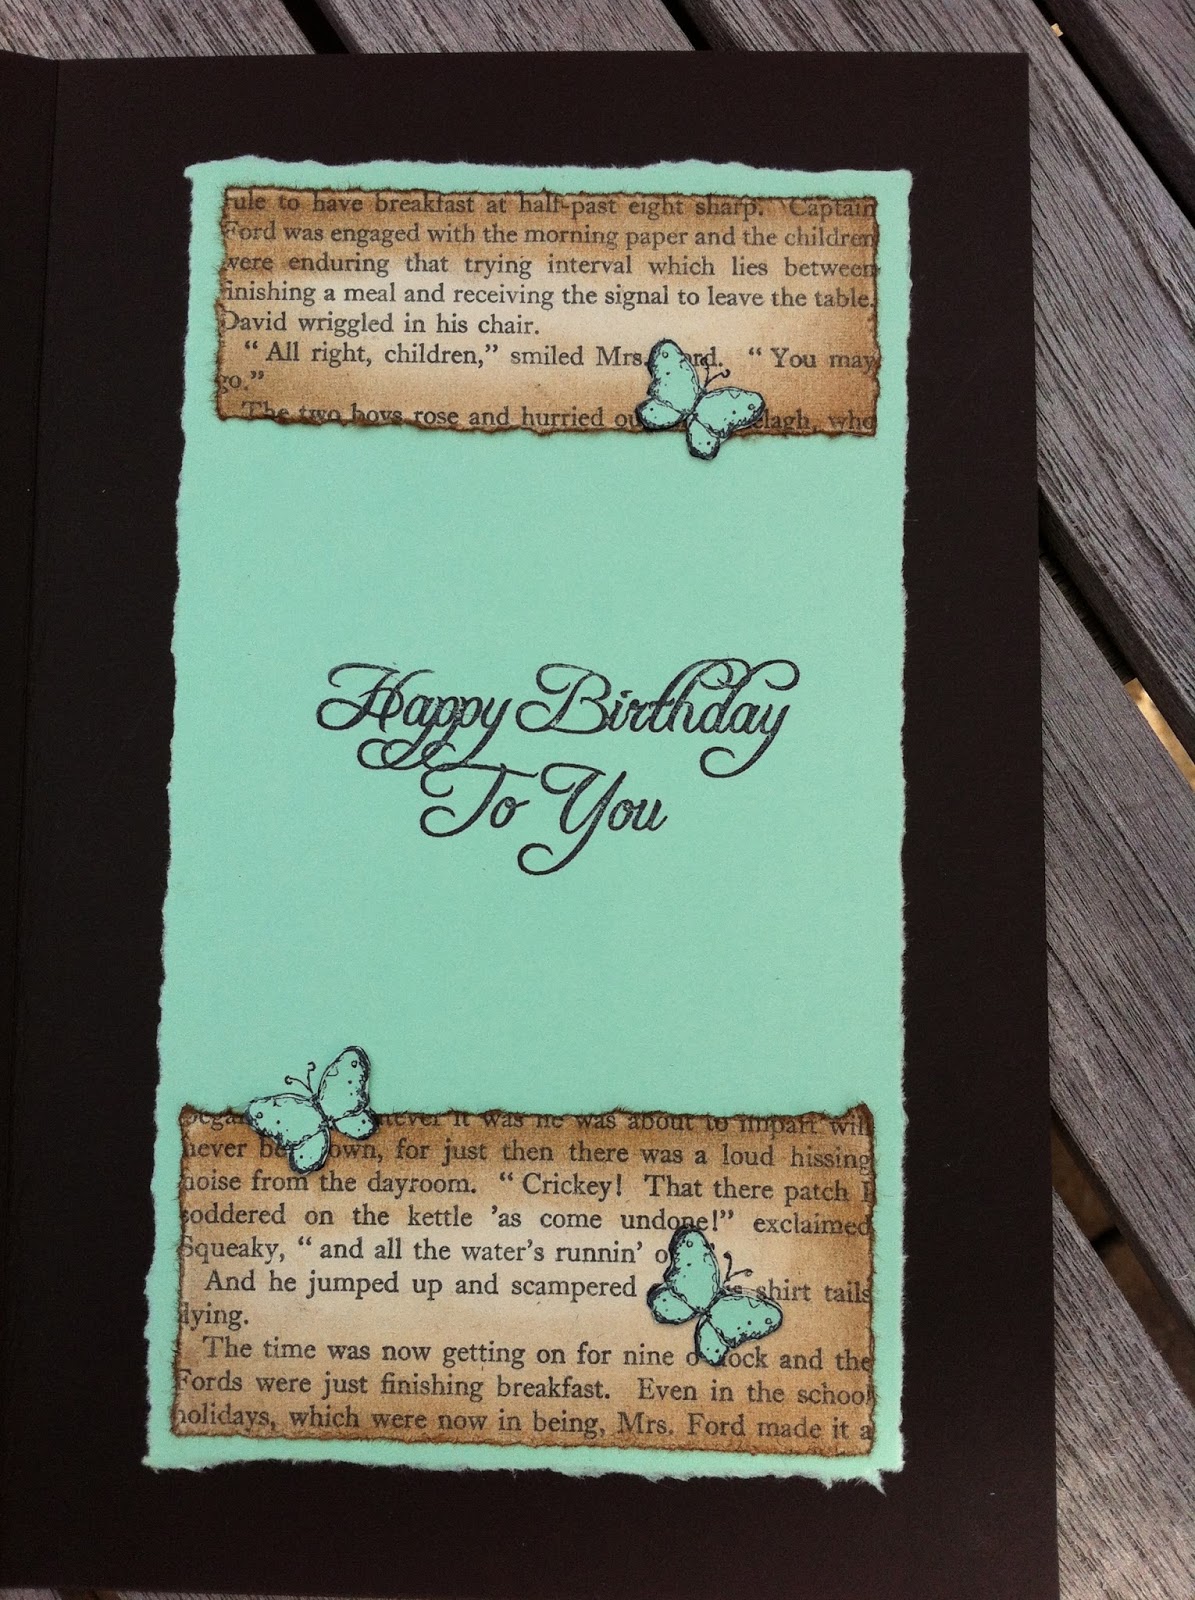

Cutting Guide:

Brown Card Base - 8" x 10 1/2" scored at 5 1/4"
Book Page Front - 3 1/2" x 6 1/4"
2 x Green Cards - 4" x 6 3/4"
Book Page Strip Top - 3 1/2" x 1 1/4"
Book Page Strip Bottom - 3 1/2" x 1 1/2"

I just realised I forgot to let you know that I had some very good news recently!  Sometimes my social media outlets get the better of me LOL!  I have been selected to be part of the Guest Design Team for the Fall/Winter season for Faber-Castell Design Memory Craft ®.  I am super excited and can't wait to share my first project with you over on their blog on the 24th November.  I will give you a sneak peek here to remind you to pop over on the day!  Thank you to everyone for their kind comments over on my Facebook page.  It is so lovely to have your support and I really do appreciate it.

Here is the tutorial I promised to deliver!!!  Hope you like it.


See you again soon - off to find another UFO!!!  Thank you for popping by X

Wednesday, 14 May 2014

Stamping on to old book pages - Simply Gorjuss!

Good morning from a sunny Derbyshire!  The weather person has promised that the weather will warm up this week and we may have a nice weekend!  I am not convinced as even on the sunny days we have had the wind has been decidedly chilly.  I always remember the old saying 'Cast not a clout, 'till May is out'.  So I am keeping my vest and cozy socks firmly in place for now at least ;-)

This week I am going to finish off a bunch of video tutorials that I have had in the pipeline waiting to be edited and to that end here are the first two!


This tutorial is all about stamping images on to old book pages.  I hope you agree it is a fun look and it does go well with the Gorjuss stamp set I have used.


This stamp set is from Santoro and the Urban Rubber Stamps range at Docrafts.  It is called new heights.  I love these Gorjuss figures as they can be cute or a little darker if cute is not your style.  I think I am in between with this card….what do you think?

So without further ado here is the tutorial if you want to see how I made the card:


…….and as usual here are the measurements listed for your convenience!

Cutting Guide:

Card Base (Teal)  - 11 1/2" x 8" scored and folded at 5 3/4"
Book Page for front and inside of card (Cut 2) - 4 3/4" x 7"
Cream Card for inner - 3 3/4" x 6"
Patterned Frame (My print is from the Graphic 45 French Country Collection) -
Cut 2 1/2" x 5" strips and cut 2 1/2" x 7 1/2" strips and trim to fit.
You will also need scraps of the patterned paper, cream paper and teal card plus a small strip of coordinating ribbon.

I love the look of stamping and colouring images on old book pages.  You do need to be selective in your choice of books - don't destroy precious old books when you can easily find damaged ones that will have plenty of useful pages still in them.

……and for my second short but sweet video.  You may remember I told you I had a huge technical hitch with a video I made of a mixed media canvas I shared a couple of posts ago.  I wanted to share the canvas on my You Tube channel too so I made a short video tour of what I did to make my Spring is in the Air mixed media canvas.  It took me forever to make and I was rather upset to loose all the footage but what can you do????!  I am over it now ;-)


So I am off to upload two more videos I finalised yesterday so watch out for more card tutorials coming your way soon.

Hope you are having a fab week filled with inspiration.  Thank you for popping by x

Oh almost forgot……I am almost at 1000 subscribers on my You Tube Channel and I would really love to get to that magic number on my birthday which is on the 23rd of May so if you don't already subscribe I would love to have you join me - Thank you x

Friday, 24 January 2014

Gorjuss Gatefold Card Tutorial

Hi everyone.

I hope you are having a fab week.  I am sharing another You Tube tutorial today.  This one is for a gatefold card and features paper piecing.  If you have never tried paper piecing then this is the video for you.  It is a fab technique that is great for using up pretty scraps of patterned paper.  I think that smaller patterns work best.

Here is the card on the outside:


Here is the inside of the card which I have left blank ready to stamp the perfect greeting when the time comes for me to send this card.


I have decided to start giving measurements for my videos here on my blog as I think it helps to have them in one place rather than having to keep pausing and rewinding the video if you miss one!

Gatefold Card Dimensions

Brown Card Base: 8" x 11 1/2" scored at 2 7/8"
Green Card for front of Gatefold: 2 1/2" x 7 3/4" cut 2
Cream Card for Main Image: 3 1/2" x 5 3/4"
Cream Card for Inner: 5 1/2" x 7 3/4"
Brown Card Mat for Main Image: 3 3/4" x 6"
Green Card Strips for Inner: 5 1/2" x 1/2" cut 2
Patterned Paper Strips for Inner: 5 1/2" x 1/4"

This card can be made in any combinations of card colours using coordinating patterned papers and the stamps you have in your collection.

I used a Gorjuss stamp set from the Urban Rubber Stamp collection.  Hope you find the tutorial useful and easy to follow.


I would really like to thank everyone that has signed up to follow me recently.  It means a lot to me to have your support.  If anyone wants me to send them the free tutorial for the Chrysanthemum (top of the right hand side bar) then don't forget to email me.  My email is on my right hand side bar a bit further down.

This week I was really happy to see the results of one of my online workshops.  The lovely Anne made my day when I saw the great results she had.  What was even nicer was to see they were already full of her gorgeous tags!  It makes all the hours sitting here talking to myself and putting the online videos and instructions together worth it when they work and such great results are achieved.  I wanted to share the link to Anne's blog so you can see what a great job she did.  

Have a great week and thank you for popping by x

Thursday, 9 January 2014

Gorjuss, Simply Gorjuss (If I say so myself!!!)

Just a quick post before I go out and check if the sky is clear.  We have been watching Stargazing live and apparently due to a very large solar flare we may get to see Aurora Borealis here in the UK.  I have promised to wake Callum up if I can see anything.  It could happen tonight or tomorrow I think they said.

Just thought I would share one of the cards I will be making with my class on Friday.  It is made with one of the stamps sets from the Simply Gorjuss Urban Stamps Range.


I really enjoyed the paper piecing combined with colouring in with my water colour pencils (I didn't add the water as the old book paper I used is quite thin.  The patterned paper is from French Country by Graphic 45 and it was fun matching the colours to the paper.  I even finished off the inside of the card!


I think I like this method of finishing off the card rather than inserting an inner paper.  Keeping my fingers crossed my class like the cards and of course that we finish on time!!!!  I know, I know……..That would be a miracle.  I have a habit of making cards that take a while to complete but my class don't mind the odd bit of homework -luckily for me!!  It does mean we can try out lots of different styles and techniques which is alway fun.

Anyway I am off to check the stars so I will wish you all a goodnight and thank you for popping by X
Related Posts Plugin for WordPress, Blogger...